Recording modes and storage
Updated 2026-10-26
Choose what each camera records, how long video is kept, where it is stored, and how to spot a failing disk.
The four modes
| Mode | What it records |
|---|---|
| Continuous | The main stream around the clock. |
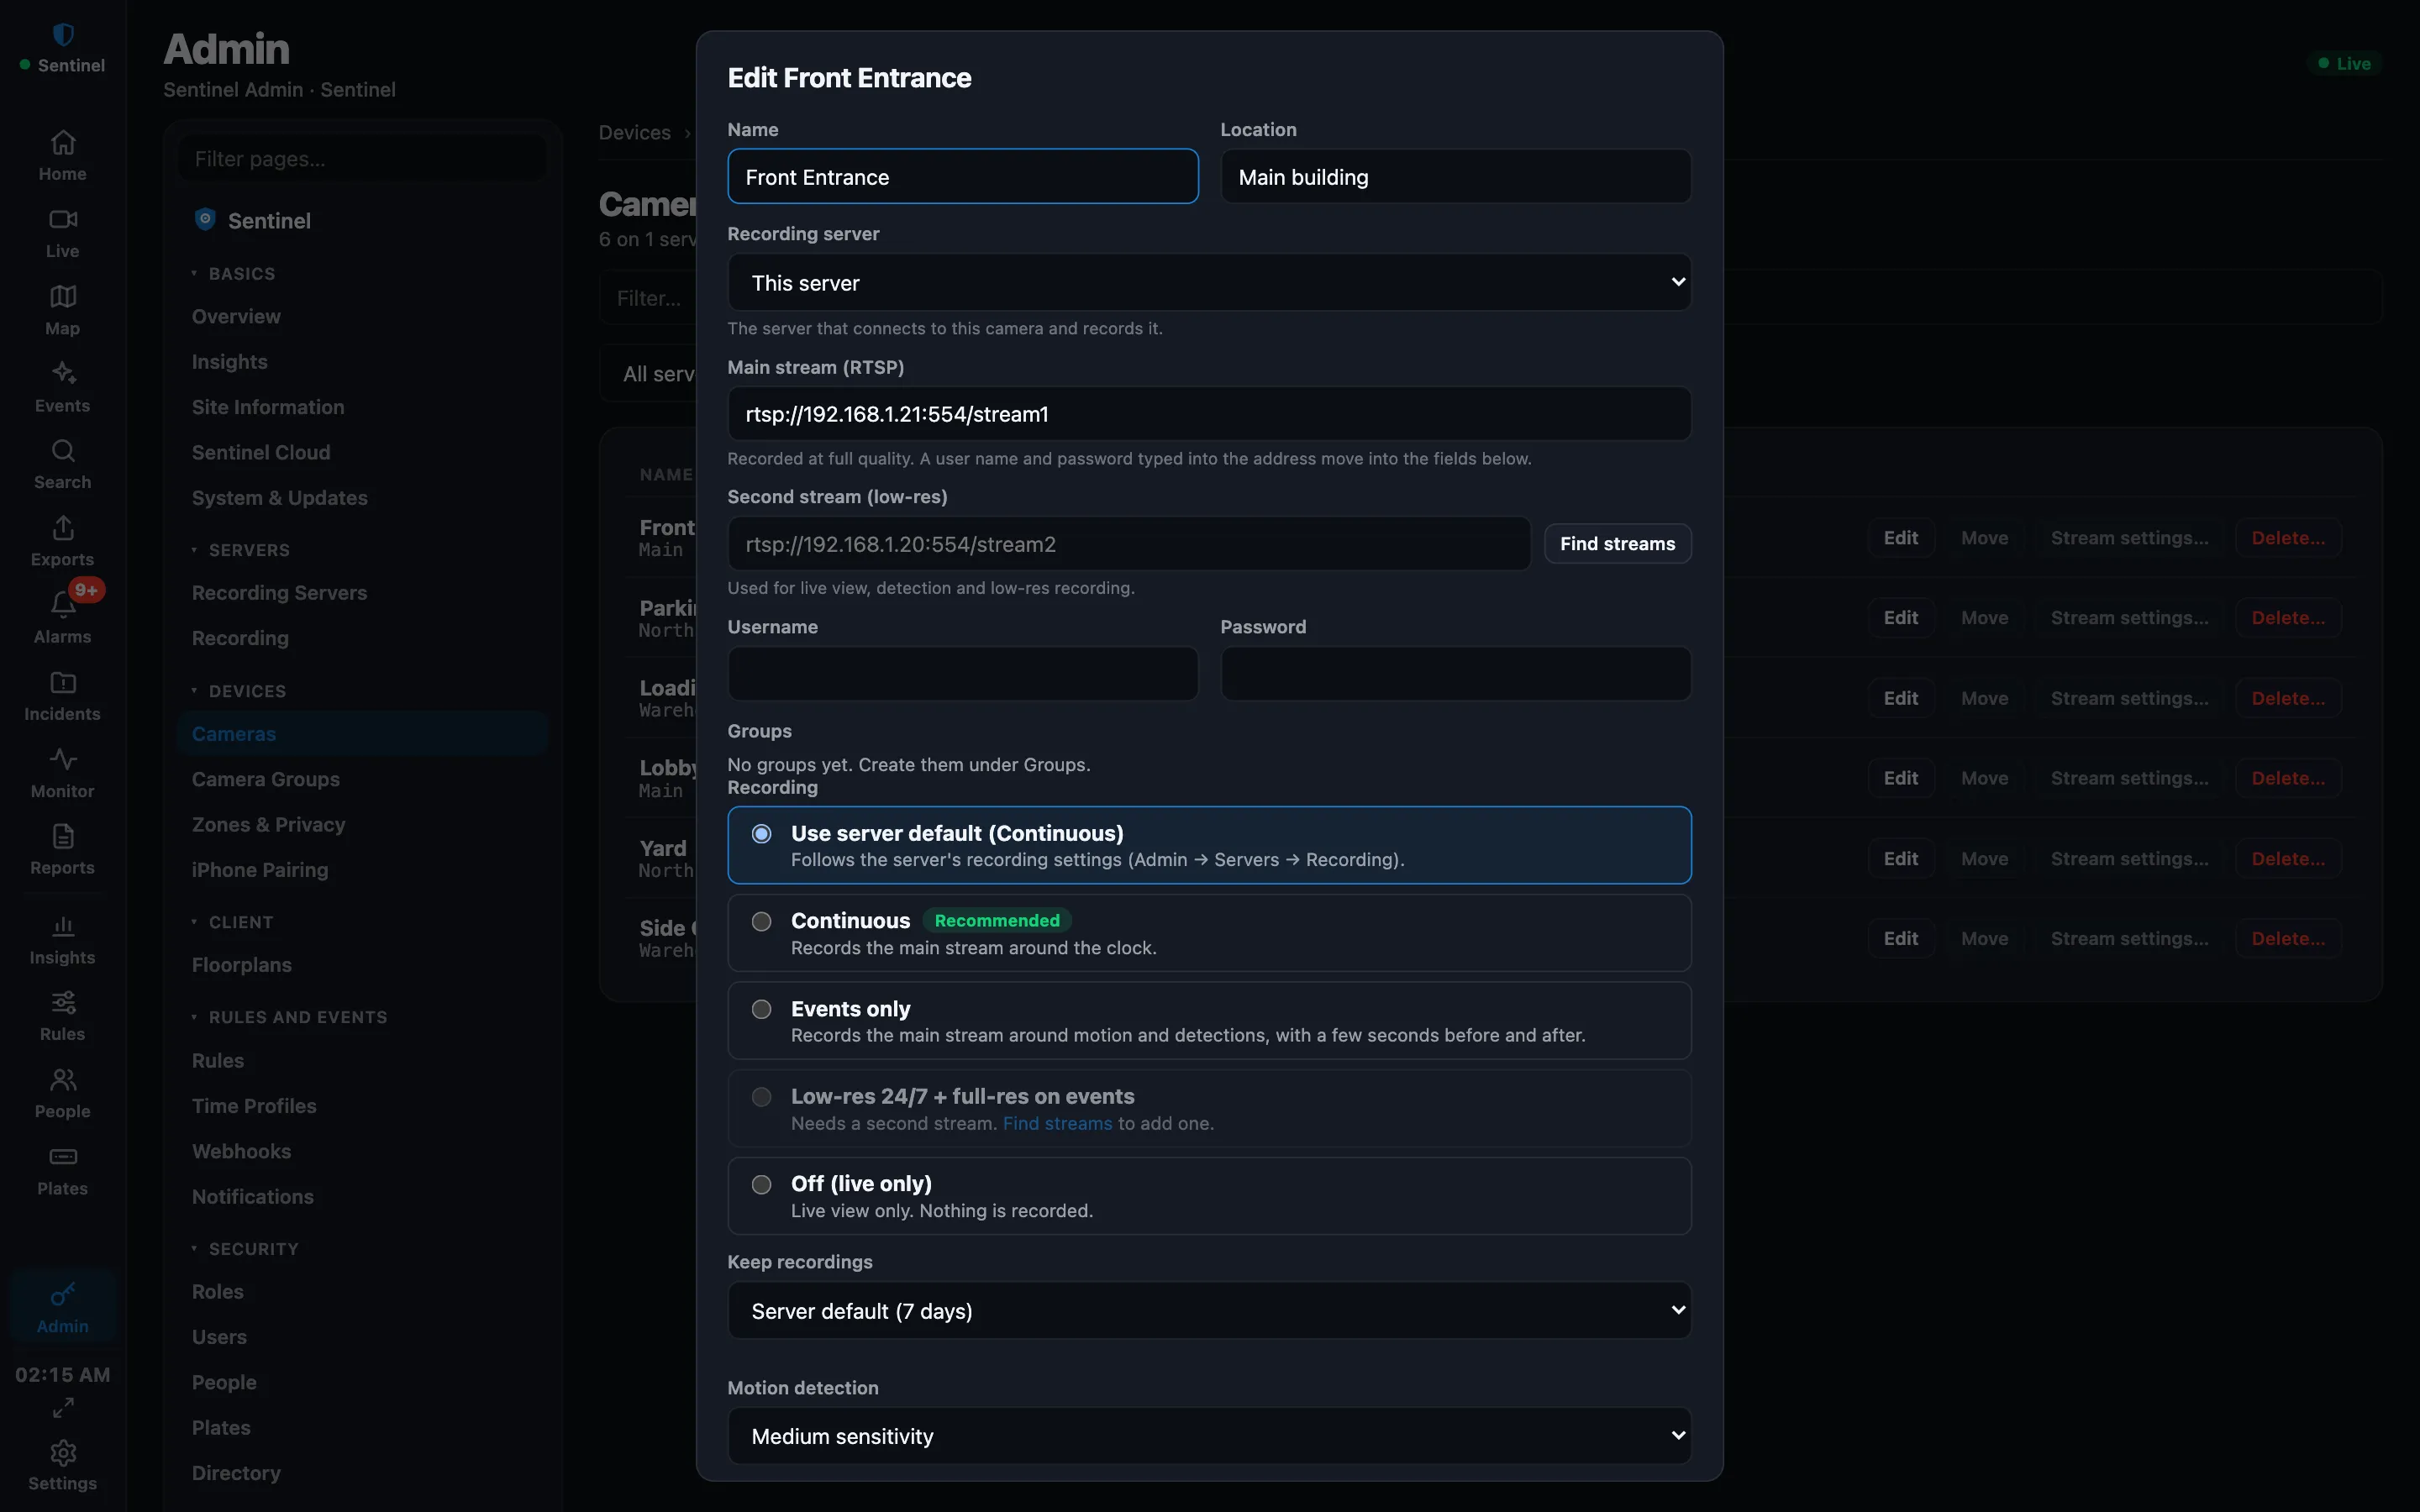
| Events only | The main stream around motion and detections, with a few seconds before and after. |
| Low-res 24/7 + full-res on events | The low-res second stream around the clock, and the main stream around events. Needs a second stream on the camera. This is the recommended mode when the camera has one. |
| Off (live only) | Live view only. Nothing is recorded. |
Events only and low-res modes start recording on Any motion or on People and vehicles only, and keep a few seconds Before the event and After the event. The default is 5 seconds before and 15 after. A value of 0 really means none.
Set the server default
- Open Admin → Servers → Recording. On the Mac: Management… → System Dashboard → Recording.
- Choose the Default mode, what to Start recording on, and the seconds before and after.
- Set Keep full-res recordings and Keep low-res recordings, in days. The defaults are 7 and 14.
- Optionally set Delete the oldest video when free space drops under to a percentage from 5 to 50. Low-res video goes first. Evidence locks are never deleted.
Set one camera
Edit the camera in Admin → Devices → Cameras and choose a Recording mode under Recording: Use server default, or one of the four. If you pick the low-res mode on a camera with no second stream, it is saved as Events only. Add the second stream with Find streams: see Add your cameras.
On playback, a camera with both kinds of footage shows low-res and full-res bands, and an export that spans both comes out as one clip. See Live view and playback.
Choose where video is stored
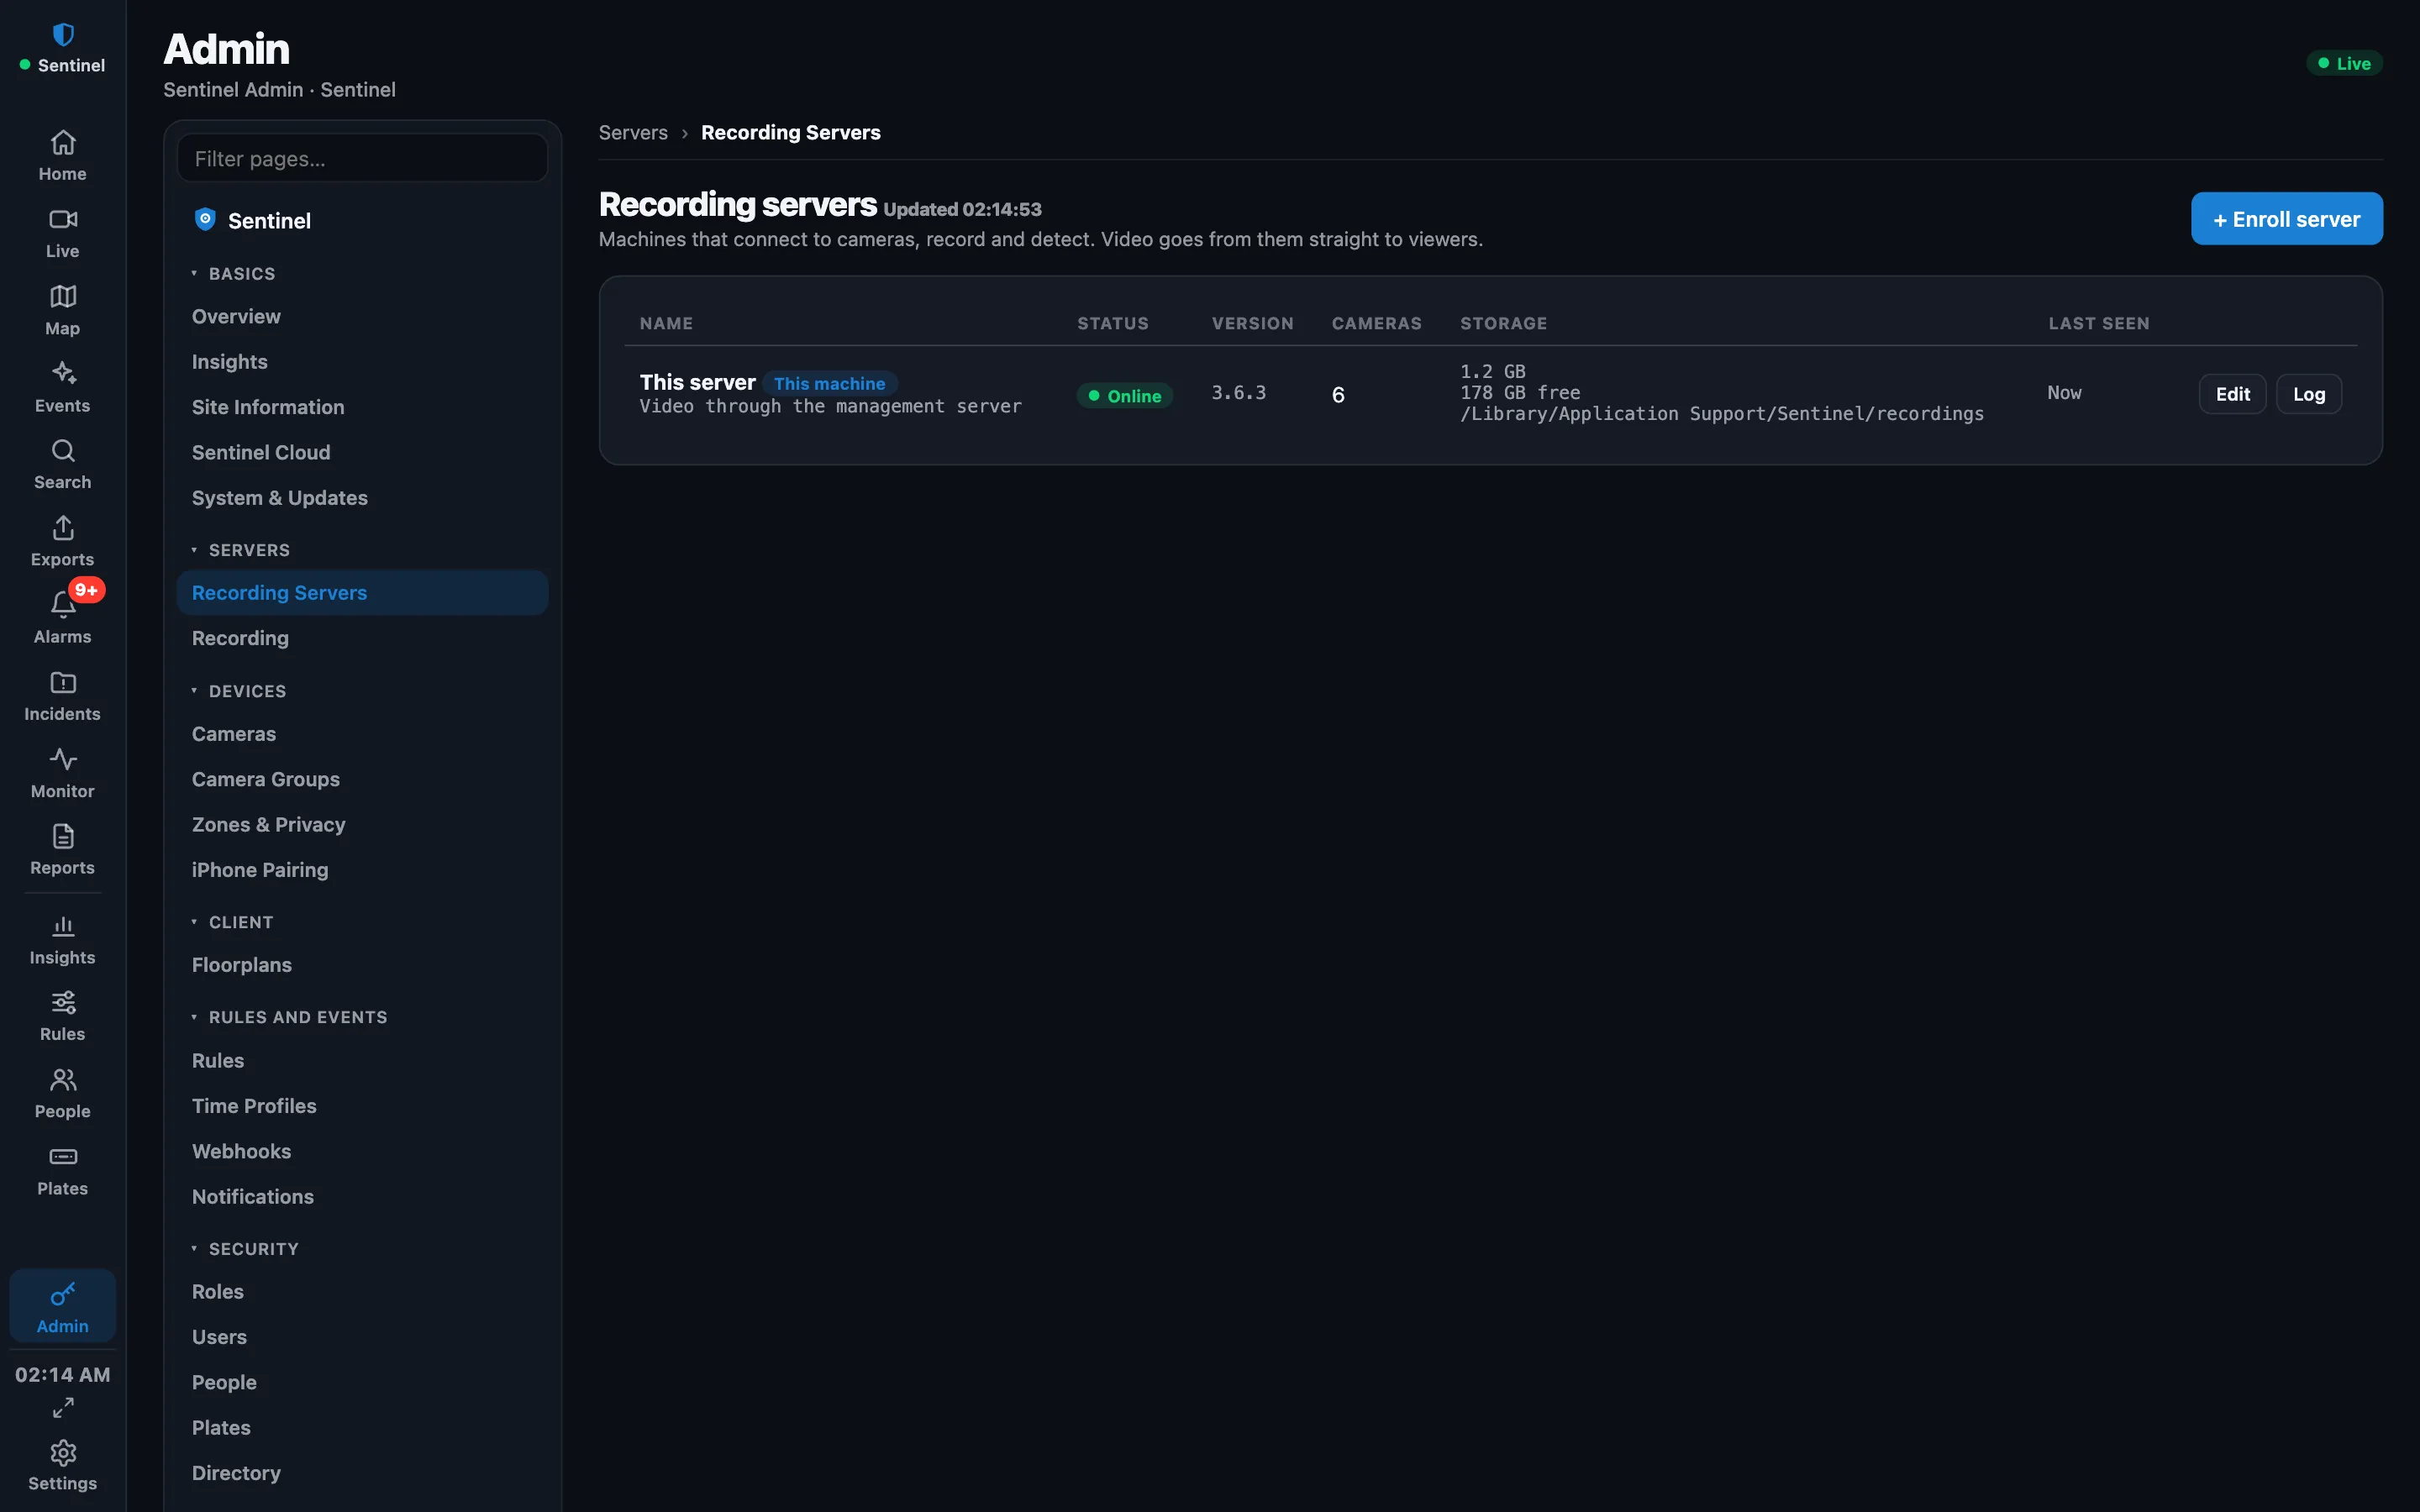
- Open Admin → Servers → Recording Servers and click Edit on the server.
- Set Recordings folder to a folder on that machine, such as
/mnt/video. Leave it empty for the default.
New video goes to the new folder at once. Recordings already made move over in the background, and playback keeps working. The Storage column shows the folder and the progress of the move, and the move picks up again after a restart. The server must be able to write to the folder. The folder can't be the server's own data directory, or inside or around the current recordings folder. Only recordings are moved; other files stay where they were.
Watch the disk
Each recording server measures how quickly its recordings folder answers. If the disk gets slow, Admin → Servers → Recording Servers shows an amber badge in the Storage column: Recordings disk is slow, with the delay in milliseconds. Check the drive and its cable. A USB drive that is starting to fail is the usual cause, and it is much better to hear about it here than to lose footage. The Monitor tab shows whether cameras are still recording.
More guides, including Sentinel Cloud setup and users and roles, are in the knowledge base for signed-in users.